2026年1月14日,云原生计算基金会(CNCF)宣布,开源镜像与文件分发系统Dragonfly正式毕业。
Dragonfly专注于解决基于Kubernetes的云原生环境下大规模镜像与文件分发难题。该项目利用点对点(P2P)技术,提供高效、稳定且安全的数据分发与加速能力,旨在成为云原生架构中的标准解决方案,支持文件、容器镜像、OCI制品、AI模型权重、缓存、日志及依赖项的大规模分发。
Dragonfly最初由阿里巴巴集团于2017年11月开源,并于2018年10月以Sandbox项目身份加入CNCF。2019年11月 Dragonfly 1.0达到生产就绪状态;2020年1月,其子项目Nydus正式开源。2020年4月,项目进入CNCF孵化阶段,随后于2021年发布Dragonfly 2.0。
Dragonfly的官方网站在国内的镜像站: https://dragonfly.website.cncfstack.com
本文主要包含的章节内容:
• Dragonfly架构组成
• Dragonfly部署
• Dragonfly使用限制
• Dragonfly加速与预热
• Dragonfly的配置文件详解
本文涉及的资源:
• 在线的 Dragonfly Web 体验环境
Dragonfly架构组成
Dragonfly模块为四类:管理器、调度器、种子对等节点和对等节点。
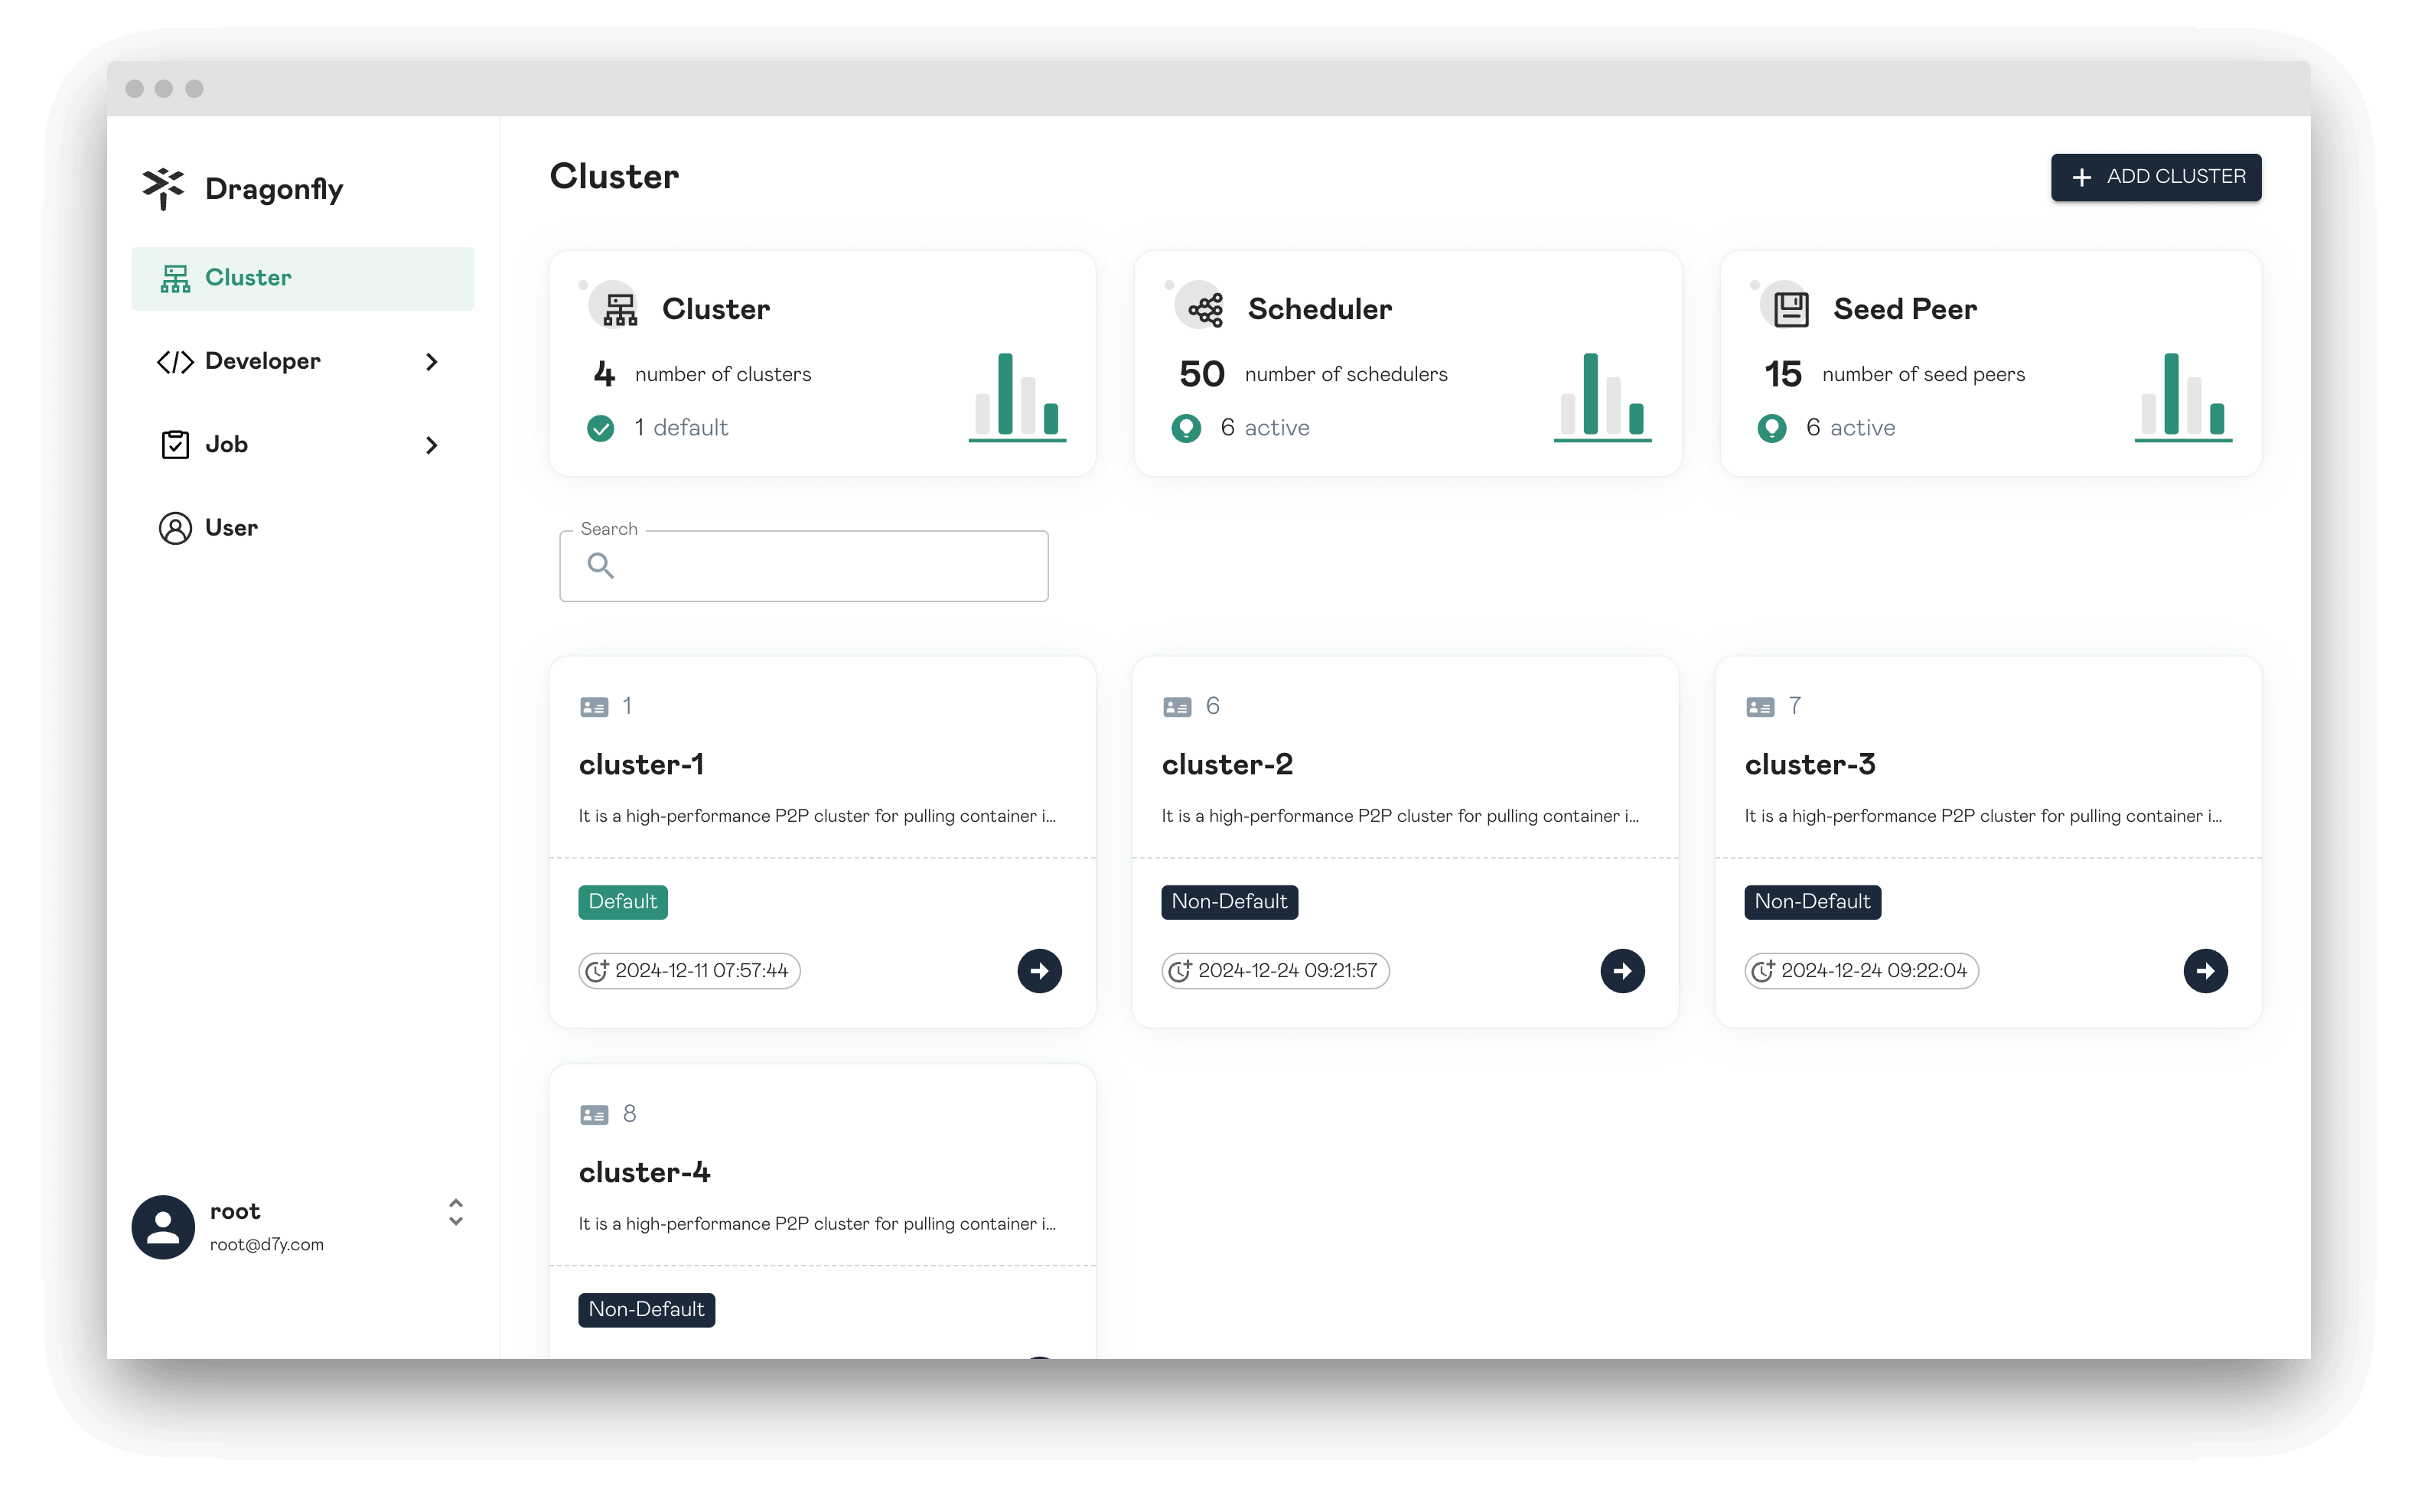
• 管理器(Manager):维护各P2P集群之间的关系,主要提供动态配置管理和数据采集等功能。此外,还配备了一个前端控制台,方便用户以可视化方式操作和管理集群。
• 调度器(Scheduler):为下载节点选择最佳的下载父节点。在适当的时间,触发Seed Peer执行回源下载,或Peer执行回源下载。
• 种子节点(Seed Peer):提供上传和下载功能,可在P2P网络中作为根节点,使调度器能够主动发起回源。
• 节点(Peer):提供上传和下载功能。
Dragonfly部署Dragonfly官方提供了推荐的 Kubernetes Helm Chart 部署方案[1]
分析其 HelmChart 部署方案,搭建一套 dragonfly 环境主要是部署 manager、scheduler、client 3个镜像,其中 seed-peer 和 peer 使用的是同一个 client 只是配置文件差异。
本文方案注意事项:
1. 由于我这边目前规模不大,没有 Kuberentes 集群,是基于 docker-compose 部署方式。
2. Dragonfly运行依赖 MySQL(或PostgreSQL),以及 Redis 数据库。我这边使用的外部单独部署。
3. docker-compose.yml 中的镜像是 v2.3.4 版本已经迁移到国内的,可以正常拉取使用。
4. seed-client 和 client 本质是同一个镜像,如果在同一台机器上运行需要修改端口。
基于 docker-compose.yml 搭建服务端挂载的配置文件详情在文章结尾提供参考,使用 docker compose up -d启动服务。
services: manager: image: registry.cncfstack.com/docker.io/dragonflyoss/manager:v2.3.4 container_name: manager restart: always volumes: - /data/logs/dragonfly/manager:/var/log/dragonfly - ./config/manager.yaml:/etc/dragonfly/manager.yaml:ro healthcheck: test: ["CMD-SHELL", "/bin/grpc_health_probe -addr=:65003 || exit 1"] interval: 1s timeout: 2s retries: 30 ports: - 65003:65003 - 8080:8080 scheduler: image: registry.cncfstack.com/docker.io/dragonflyoss/scheduler:v2.3.4 depends_on: - manager container_name: scheduler restart: always healthcheck: test: ["CMD-SHELL", "/bin/grpc_health_probe -addr=:8002 || exit 1"] interval: 1s timeout: 2s retries: 30 volumes: - /data/logs/dragonfly/scheduler:/var/log/dragonfly - ./config/scheduler.yaml:/etc/dragonfly/scheduler.yaml:ro ports: - 8002:8002 seed-client: image: registry.cncfstack.com/docker.io/dragonflyoss/client:v1.1.7 network_mode: "host" depends_on: - manager - scheduler container_name: seed-client restart: always healthcheck: test: ["CMD-SHELL", "/bin/grpc_health_probe -addr=unix:///var/run/dragonfly/dfdaemon.sock || exit 1"] interval: 1s timeout: 2s retries: 30 volumes: - /data/logs/dragonfly/seed-client:/var/log/dragonfly - ./config/seed-client.yaml:/etc/dragonfly/dfdaemon.yaml:ro ports: - 4010:4010 - 4011:4011 - 4012:4012
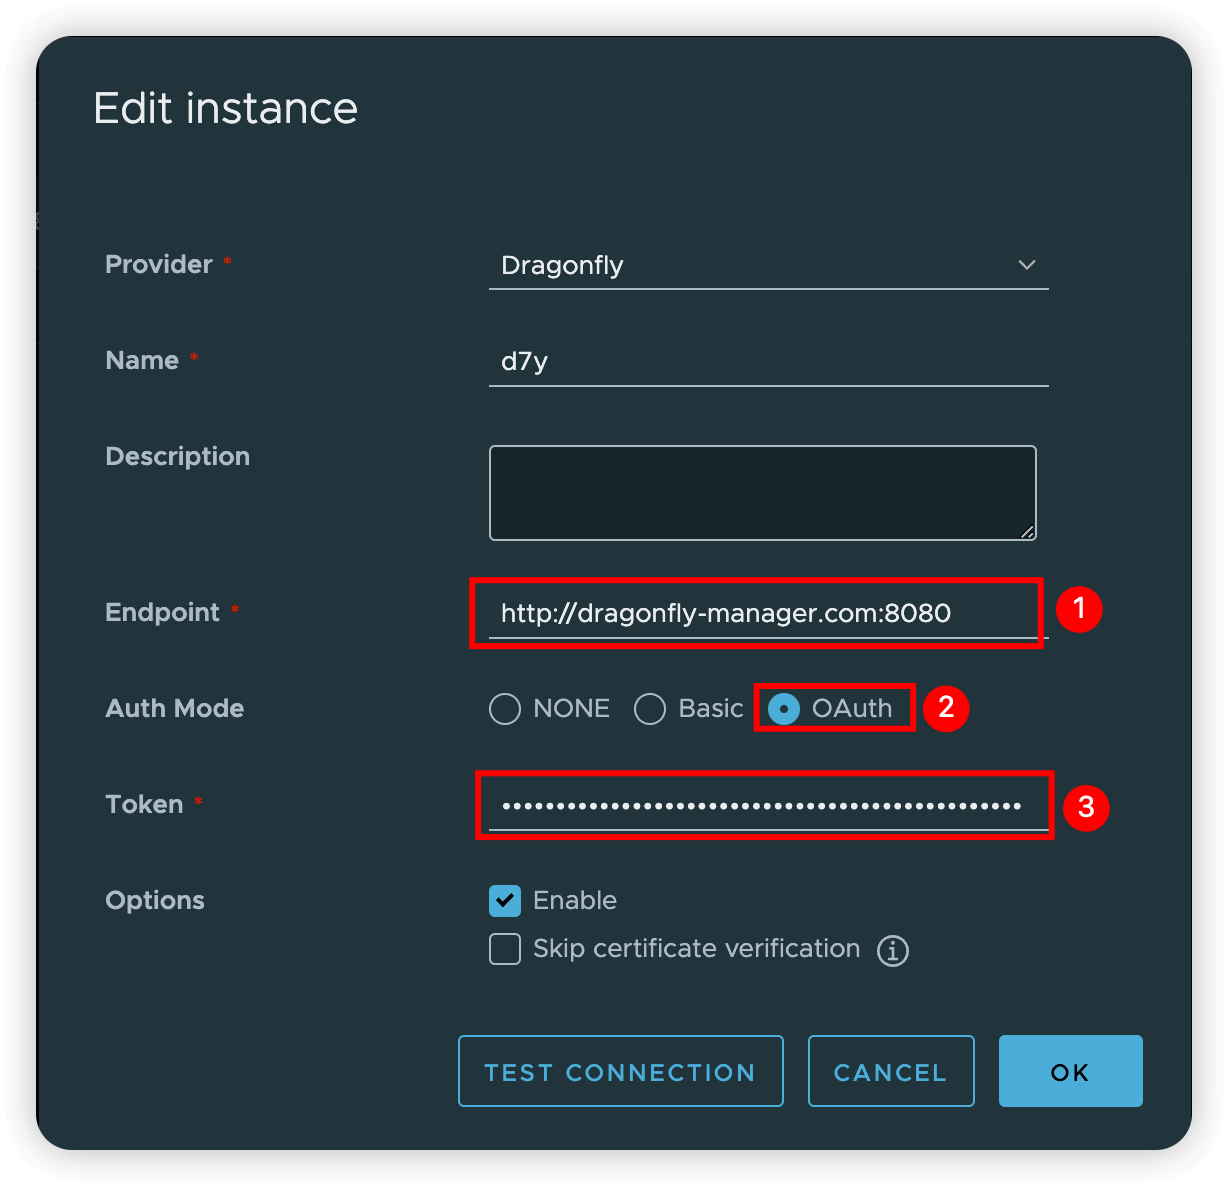
服务端搭建完成后,可以通过 manager 的的 8080 端口访问。
藏云阁提供在线体验环境 https://dragonfly.cncfstack.com ,公众号发送【dragonfly体验】,即可获取体验账号密码
客户端需要在所有节点搭建,在 Kubernetes 上使用的是 DaemonSet。本地可以基于 docker 运行即可。
docker run -itd --name dfd \ -v ./log/client:/var/log/dragonfly \ -v ./p2p-client.conf:/etc/dragonfly/dfdaemon.yaml:ro \ -p 4100:4000 \ -p 4101:4001 \ -p 4202:4002 \ registry.cncfstack.com/docker.io/dragonflyoss/client:v1.1.7
客户端使用• Docker作为客户端拉取镜像
参考下文的“不支持 docker 工具加速”章节
• Containerd 运行时
在 containerd 运行时的节点上,修改或添加一个配置: /etc/containerd/certs.d/docker.io/hosts.toml, 其中 http://127.0.0.1:4001 就是本地运行的 seed 的代理端口。
详细的配置如下说明[2]
server = "https://registry.cncfstack.com"[host."http://127.0.0.1:4001"]capabilities = ["pull", "resolve"][host."http://127.0.0.1:4001".header]X-Dragonfly-Registry = "https://registry.cncfstack.com"
Dragonfly使用限制经过体验和查阅官方文档,在使用 Dragonfly加速镜像拉取时,会存在如下限制:
不支持 docker 工具加速对 docker pull 拉取镜像不友好,官方也明确说明不支持 Docker。
主要是 Docker 的HTTP_PROXY配置机制问题,添加了之后是可以拉取加速镜像,但是所有的请求都会走代理影响其他功能使用,加速完了后需要移除这个代理并重启docker,使用上很麻烦。对于其他 contaienrd、podman等工具,可以进行配置,不存在 Docker 的这种问题。
在给 docker 提供镜像加速时候,需要修改 docker 的 systemd 配置,添加代理的环境变量配置并重启 docker 服务。需要注意的是在 shell 终端 export 设置的环境变量不生效,因为 Docker 是C/S架构,在 Client 客户端配置的环境变量,无法在 Server 端生效。
给 dockerd 服务端添加配置:
root@iv-ydsh9xsohswuxjsht8f2:~# cat /etc/systemd/system/docker.service.d/http-proxy.conf[Service]Environment="HTTP_PROXY=http://1.2.3.4:4011/"Environment="HTTPS_PROXY=http://1.2.3.4:4011/"Environment="NO_PROXY=localhost,127.0.0.1,10.0.0.0/8"
将配置文件中 1.2.3.4 修改成 peer 的地址即可。
不支持开放网络peer节点需要在同一个网络中,否则会导致其他peer节点无法访问该节点。
在一个 Kuberentes 集群中一般都是在同一个网络环境中,不存在该网络问题。
但是如果在开放的网络,部分节点在公有云,部分节点在公司内网或个人电脑需要拉取镜像时,自己配置成peer后,自己可以正常拉取镜像,但是其他节点无法从该节点拉取镜像,导致其他节点偶发异常(刚好调度到该节点拉取镜像时)。
Dragonfly加速与预热默认不做任何配置时,在第一次拉取镜像时,peer节点会从种子节点获取镜像,然后种子节点再回源站获取镜像,整个过程会有两次的镜像下载过程。
也可以通过主动预热和结合 Harbor 进行自动预热,提升初次下载体验,或提前分发文件。
主动预热主动加速是在 Dragonfly 集群中配置,添加镜像或文件的任务后,Dragonfly 种子节点(seed peer)会自动拉取文件缓存到本地。
这种方式需要人工或通过接口创建任务,比较麻烦。

Harbor镜像预热是在 Harbor 集群中配置,将项目的镜像自动推送到 Dragonfly 集群中。
这种方式 harbor 会自动预热推送,配置完成后会自动执行, 详细配置步骤[3]。
需要特别注意的配置文件中 __IP__ 需要修改成机器的网卡 IP 地址,我是这样获取IP的
ip=${IP:-$(ip a s eth0 |grep "inet\ "|awk -F'/' '{print $1}'|awk '{print $NF}')}export ip=${ip}
manager.template.yamlmanager 服务的运行配置,注意配置中 __IP__ 需要修改成机器的网卡 IP 地址。
详细的配置参数参考[4]
manager 配置涉及 MySQL(PostgreSQL) 和 Redis 配置,请根据实际情况进行修改。
################## 日志配置# console是否在控制台输出日志,可使用 logs 命令查看日志# 日志级别:trace/debug/info/warn/errorconsole: truelog: level: infoserver: grpc: # advertiseIP manager 访问的IP地址,用于 scheduler和seed的访问。 # 如果本地eth0的 IP 地址和访问的 IP 地址不一致,请设置本字段为访问的 IP 地址 advertiseIP: __IP__ # 设置监听的起始和结束端口,如果前面的端口被占用则会自动使用后续的端口,相同时则为固定端口 port: start: 65003 end: 65003 # Restful API接口监听的端口,业务Web页面的服务端口 rest: addr: :8080#安全建议:生产环境务必修改默认的 JWT key!auth: jwt: realm: 'Dragonfly' # 认证域名称 key: 'ZHJhZxxxuZmx5Cg==' # JWT签名密钥(base64编码) timeout: 48h # Token有效期 maxRefresh: 48h # Token可刷新时间# 可以配置为mysql,参考配置文件中格式database: type: postgres postgres: user: pg-user password: pg-pwd host: pg-ip-or-doman port: 5432 dbname: df_manager sslMode: disable timezone: UTC migrate: true redis: addrs: - "redis-ip-or-domain:6379" masterName: '' username: '' password: redis-pwd db: 3 brokerDB: 1 backendDB: 2# Job配置job: rateLimit: fillInterval: 1m # 令牌桶填充间隔 capacity: 5 # 令牌桶容量 quantum: 5 # 每次填充的令牌数 gc: # Interval is the interval for garbage collection. #interval: 24h interval: 1m # TTL is the time to live for the job. #ttl: 24h ttl: 1m syncPeers: # 设置同步所有 peers 信息的间隔时间,从 scheduler 同步到 manager # 注意:代码限制必须MUST > 12h,否则无法启动 interval: 13h # 从 scheduler 同步到 manager时的同步超时时间 timeout: 10m preheat: # 请求 registry 获取 token 和 manifest 的超时时间 registryTimeout: 1m tls: insecureSkipVerify: false # 是否跳过TLS验证
scheduler.template.yamlscheduler 服务的运行配置,注意配置中 __IP__ 需要修改成机器的网卡 IP 地址。
详细配置参考[5]
scheduler 配置文件涉及 Redis 配置,请根据实际情况修改。
server: advertiseIP: __IP__ port: 8002# Scheduler policy configuration.scheduler: # 调度算法: #default:基于规则的调度算法(默认) #ml:机器学习调度算法(需要额外配置) #plugin:插件扩展算法(需要编译 d7y-scheduler-plugin-evaluator.so) algorithm: default # 回源设置: # 单个任务允许Peer回源的最大次数 backToSourceCount: 200 # Peer回源重试限制 retryBackToSourceLimit: 3 # 调度重试次数限制 retryLimit: 5 # 调度重试间隔 retryInterval: 400ms #GC 参数调优建议: #高负载环境:减少 peerGCInterval 和 taskGCInterval #内存敏感环境:减少 peerTTL 和 hostTTL #网络不稳定环境:增加 pieceDownloadTimeout gc: pieceDownloadTimeout: 30m # Piece下载超时时间 peerGCInterval: 5m # Peer垃圾回收间隔 peerTTL: 24h # Peer存活时间,如果 peer 被其他 peers 下载了,改值会重新刷新 taskGCInterval: 30m # 任务垃圾回收间隔 hostGCInterval: 5m # Host垃圾回收间隔 hostTTL: 1h # Host存活时间。如果 host 上报了状态,该值会重新刷新database: redis: addrs: - "redis-ip-or-domain:6379" masterName: '' username: '' password: '' brokerDB: 1 backendDB: 2# 动态配置#支持从 Manager 动态拉取配置更新#无需重启 Scheduler 即可更新部分配置#用于集群策略的动态调整dynConfig: # 动态配置刷新时间 refreshInterval: 1m# 调度器host信息# 数据中心标识(如:us-east-1)# 地理位置(如:NewYork)#设置 idc 和 location 可实现智能调度#优先调度同 IDC/同地域的 Peer#减少跨地域网络流量和延迟host: idc: '' location: ''# Manager服务的配置信息manager: addr: "__IP__:65003" # 所属集群ID schedulerClusterID: 1 keepAlive: interval: 5sseedPeer: # Scheduler enable seed peer as P2P peer, # if the value is false, P2P network will not be back-to-source through # seed peer but by peer and preheat feature does not work. enable: true#CPU核心数 < 16: globalWorkerNum = 200-500#CPU核心数 16-32: globalWorkerNum = 500-1000#CPU核心数 > 32: globalWorkerNum = 1000-2000job: enable: true # 启用异步作业服务 globalWorkerNum: 500 # 全局队列工作线程数 schedulerWorkerNum: 500 # 调度器队列工作线程数 localWorkerNum: 1000 # 本地队列工作线程数%
seed-client.template.yaml种子节点的配置,需要修改配置中 __IP__ 为本节点的IP地址
详细完整的配置参考[6]
################## 日志配置# console是否在控制台输出日志,可使用 logs 命令查看日志# 日志级别:trace/debug/info/warn/errorconsole: truelog: level: info################## 当前运机器的基础信息配置, 设置 idc 和 location 可实现同地域优先调度# host.idc 该机器所属的数据中心,如us-east-1# host.location 该机器所属的地理位置(如:Beijing)# host.hostname 主机名(可选)# host.ip IP(NAT/多IP场景使用), 注意:peer 节点需要基于该IP地址给其他peer提供下载功能,所以如果内网和外网IP,需要配置为外网IP# host.schedulerClusterID 所属调度器集群ID。需要基于 scheduler 中的 ID 配置,该配置添加后,idc/location 会被忽略host: ip: __IP__##################插件和缓存配置# server.cacheDir 缓存文件存储的目录# server.pluginDir 保存插件的目录server: pluginDir: /var/lib/dragonfly/plugins/dfdaemon/ cacheDir: /var/cache/dragonfly/dfdaemon/################## 下载配置# download.protocol 中 peers下载资源时支持的协议,如 tcp 或 quic:# TCP:适用于高带宽、低延迟、局域网环境# QUIC:适用于高延迟、高丢包率、移动网络环境# socketPath:dfdaemon GRPC service的 socket 路径# requestRateLimit:下载请求速率限制(请求/秒)default is 4000 req/s# rateLimit: # 下载速率限制(默认50GiB/秒)# pieceTimeout:从源站下载piece的超时时间# collectedPieceTimeout:从父节点收集piece的超时时间# concurrentPieceCount:并发下载的piece数量download: protocol: tcp server: socketPath: /var/run/dragonfly/dfdaemon.sock requestRateLimit: 4000 rateLimit: 1GiB pieceTimeout: 360s collectedPieceTimeout: 360s concurrentPieceCount: 10################## 上传配置# upload.server.port 上传的 dfdeamon grpc 服务端口# upload.disableShared 是否禁止上传数据给其他节点# rateLimit 上传速度配置,默认10GiB 每秒,支持单位 KiB/MiB/GiBupload: server: port: 4010 disableShared: false rateLimit: 10GiB################## 访问 manager 的配置信息manager: addr: http://__IP__:65003################## 种子节点配置# seedPeer.enable 是否启用种子节点功能# seedPeer.type 节点类型,可选值:super/sub# seedPeer.clusterID 节点所属的种子节点集群ID,TODO,是否可以添加多个节点为 seedPeer节点,通过这个ID来组成一个种子节点集群?# seedPeer.keepaliveInterval 节点向manager上报存活时间间隔seedPeer: enable: true type: super clusterID: 1 keepaliveInterval: 15s################## 存储配置# tcpPort tcp服务端口# quicPort quic服务端口# dir:存储tasks元数据和内容的目录# keep: dfdaemon重启时是否保留任务数据# writeBufferSize:数据写入磁盘缓冲区大小,默认128KB# readBufferSize:读取缓冲区大小,默认128KBstorage: server: tcpPort: 4005 quicPort: 4006 dir: /var/lib/dragonfly/ keep: true writeBufferSize: 131072 readBufferSize: 131072################## 资源GC回收配置# gc.interval gc任务执行间隔# gc.policy.taskTTL 任务TTL# gc.policy.distThreshold 设置磁盘使用率阈值。 如果设置为0或者不设置,则会使用全部磁盘空间。可设置 distThreshold 限制dfdaemon使用的最大磁盘空间# distHighThresholdPercent 磁盘使用率 > 该值:触发GC,删除旧任务# distLowThresholdPercent 磁盘使用率 < 该值:停止GCgc: interval: 900s policy: taskTTL: 21600s # distThreshold: 10TiB distHighThresholdPercent: 80 distLowThresholdPercent: 60################## 镜像代理配置# proxy.server.port 镜像代理服务端口# proxy.ip 镜像代理服务IP# proxy.caCert # caCert 是代理服务器用于生成服务器证书的根 CA 证书路径(PEM 格式)。 # 如果 ca_cert 为空,代理将通过 rcgen::generate_simple_self_signed 生成一个示例 CA 证书。 # 当客户端通过代理发出请求时,客户端不应验证服务器证书,并应将 insecure 设置为 true。 # 如果 ca_cert 不为空,代理将使用该 CA 证书为服务器证书签名。 # 如果系统已安装 openssl,您可以使用 openssl 生成根 CA 证书,并使系统信任该根 CA 证书。 # 然后将 ca_cert 和 ca_key 设置为根 CA 证书和密钥的路径。 # Dfdaemon 将生成服务器证书和密钥,并使用根 CA 证书对服务器证书进行签名。 # 当客户端通过代理发出请求时,代理可以通过服务器证书拦截请求。# proxy.caKey # caKey 是代理服务器用于生成服务器证书的根 CA 私钥路径(PEM 格式)。 # 如果 ca_key 为空,代理将通过 rcgen::generate_simple_self_signed 生成一个示例 CA 私钥。 # 当客户端通过代理发出请求时,客户端不应验证服务器证书,并应将 insecure 设置为 true。 # 如果 ca_key 不为空,代理将使用该 CA 私钥为服务器证书签名。如果系统已安装 openssl, # 您可以使用 openssl 生成根 CA 证书,并使系统信任该根 CA 证书。 # 然后将 ca_cert 和 ca_key 设置为根 CA 证书和私钥的路径。 # Dfdaemon 将生成服务器证书和私钥,并使用根 CA 私钥对服务器证书进行签名。 # 当客户端通过代理发出请求时,代理可以通过服务器证书拦截请求。# basicAuth # basic_auth 是 dfdaemon 中 HTTP 代理的基本认证配置。 # 如果 basic_auth 不为空,代理将通过 Authorization 头部使用基本认证来验证客户端身份。 # Authorization 头部的值为 "Basic base64(username:password)", # 具体请参考 https://en.wikipedia.org/wiki/Basic_access_authentication。 # proxy.basicAuth.username 用户名 # proxy.basicAuth.password 密码# proxy.rules 镜像代理规则# proxy.registryMirror.addr 镜像代理默认镜像仓库地址# cert # # cert 是注册表(registry)的客户端证书路径,采用 PEM 格式。 # # 如果注册表使用自签名证书,客户端需要为注册表镜像设置此证书。# disableBackToSource indicates whether disable to download back-to-source when download failed. # 是否禁止回源proxy: server: port: 4011 # ip: "" # caCert: "" # caKey: "" # basicAuth: # username: "admin" # password: "dragonfly" # # rules is the list of rules for the proxy server. # regex is the regex of the request url. # useTLS indicates whether use tls for the proxy backend. # redirect is the redirect url. # filteredQueryParams is the filtered query params to generate the task id. # When filter is ["Signature", "Expires", "ns"], for example: # http://example.com/xyz?Expires=e1&Signature=s1&ns=docker.io and http://example.com/xyz?Expires=e2&Signature=s2&ns=docker.io # will generate the same task id. # Default value includes the filtered query params of s3, gcs, oss, obs, cos. # `X-Dragonfly-Use-P2P` header can instead of the regular expression of the rule. If the value is "true", # the request will use P2P technology to distribute the content. If the value is "false", # but url matches the regular expression in rules. The request will also use P2P technology to distribute the content. rules: - regex: 'blobs/sha256.*' # useTLS: false # redirect: "" # filteredQueryParams: [] registryMirror: # addr is the default address of the registry mirror. Proxy will start a registry mirror service for the # client to pull the image. The client can use the default address of the registry mirror in # configuration to pull the image. The `X-Dragonfly-Registry` header can instead of the default address # of registry mirror. addr: https://registry.cncfstack.com # cert: "" disableBackToSource: false # prefetch pre-downloads full of the task when download with range request. # 是否预取整个文件(针对range请求) prefetch: false # readBufferSize is the buffer size for reading piece from disk, default is 32KB. # 代理读取缓冲区大小 readBufferSize: 32768################## Prometheus metricsmetrics: server: port: 4012 # ip: ""
p2p-client.conf客户端运行的配置文件, 和 seed-client.template.yaml 配置基本一样,不需要配置种子节点 seedPeer 配置。
其他默认的配置可以不需要配置,按需配置需要的即可,完整的配置参考[7]
host: ip: <上报的当前机器IP,用于其他peer节点连接>manager: addr: http://<manager服务的访问地址>:65003proxy: server: port: 4001 rules: - regex: 'blobs/sha256.*' registryMirror: addr: https://registry.cncfstack.com disableBackToSource: false prefetch: false readBufferSize: 32768
引用链接[1] Kubernetes Helm Chart 部署方案: https://dragonfly.website.cncfstack.com/docs/next/getting-started/quick-start/kubernetes/[2] 详细的配置如下说明: https://dragonfly.website.cncfstack.com/docs/next/operations/integrations/container-runtime/containerd/[3] 详细配置步骤: https://dragonfly.website.cncfstack.com/docs/next/advanced-guides/open-api/preheat/#harbor[4] 详细的配置参数参考: https://dragonfly.website.cncfstack.com/docs/next/reference/configuration/manager/[5] 详细配置参考: https://dragonfly.website.cncfstack.com/docs/next/reference/configuration/scheduler/[6] 详细完整的配置参考: https://dragonfly.website.cncfstack.com/docs/next/reference/configuration/client/dfdaemon/[7] 完整的配置参考: https://dragonfly.website.cncfstack.com/docs/next/reference/configuration/client/dfdaemon/